Guides

Editing

In this guide you will learn how to:
Edit a case
Edit a trigger
Edit an event

Edit a case...

Creating a case
Step
First, you will need to locate the case you would like to edit. Click on 'All Cases'  in the navigation menu to view the list of your cases.
Creating a case
Step
Locate the case you want to edit and click on it. You can also access this screen by clicking the case link in the description of your Outlook or Google Calendar event.  
Creating a case
Step
Click 'Edit Case'  from the view case screen to start editing.

Edit Case Screen

IMPORTANT- Edits made to the case will only affect future calculations.

If you want to edit events that have already been calendared, you will need to edit the trigger.

You may now edit any fields related to this case. You can add other calendars by clicking in the white space of the Assigned Calendars box or remove them by clicking the X.

Archive Case

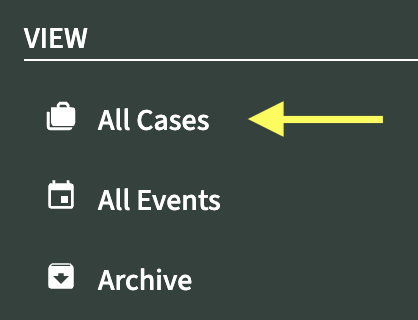
Archiving a case will remove it from the All Cases page and the Case Name dropdown menu on the Create Events screen. A case can only be archived once all triggers have been archived. Click here for more information on archiving triggers.

Creating a case
Accessing the Edit Trigger screen...
To edit a trigger you will first need to locate the trigger you would like to edit.

Locate the trigger from the case screen and click EDIT next to it.
The Edit Trigger screen.
Creating a case
Update a trigger date & recalculate the related events
From the edit trigger screen, click on the original date in the Trigger Date selector to open the date picker.

Choose your new trigger date and click the UPDATE TRIGGER button.
This will recalculate the trigger and allow you to preview your new events. When you are ready to add the updated events to your calendar, click UPDATE CALENDAR in the lower left-hand corner.  
Creating a case
Add or remove a new calendar from a trigger that has already been calculated
From the edit trigger screen, click in the white space of the Assigned Calendar(s) box to open the dropdown calendar selector.

Select the calendar you want to add or click the 'x' next to the calendar(s) you want to remove and click UPDATE TRIGGER.
Creating a case
Remove a trigger’s events from all calendars
If you would like to remove the trigger from all calendars, you will use the archive trigger feature. From the trigger screen, click the red ARCHIVE TRIGGER button.

Archiving the trigger will remove the events from all calendars. After the trigger has been archived, it will be stored in the Archived Cases section. Click here for more information on Archived Cases.
Creating a case
Update the custom text details(Title / Location /Description)
You can edit any of the text fields from the edit trigger screen.

After making edits to one or more of the custom text fields, click 'UPDATE TRIGGER'.

IMPORTANT- Edits made to a trigger will affect all events related to that trigger.

If you want to an individual event, please see the edit events section.

Edit an event...

Creating a case
Step
To edit an event you will first need to locate the trigger that contains the event you would like to edit.

Locate the trigger from the case screen and click on it.

(You can also access this screen by clicking the trigger link in the description of your Outlook or Google Calendar event.)
Creating a case
Step
Locate the event from the view trigger screen its 'EDIT' button.
Edit Event Screen

Creating a case
Add or remove calendars from a single event
From the edit event screen, click in the white space of the Calendars: box to open the dropdown calendar selector.

Select the calendar(s) you want to add or remove and click UPDATE EVENT.

To remove a calendar, click the 'X' next to the calendar name.
Creating a case
Update the date, subject, or custom details of a single event
Click in the respective fields (date, subject, or custom details) to edit.

After making changes, click
UPDATE EVENT.
Creating a case
Convert an All-Day event to a timed event
Click the 'Add Time to Event' button.

Select the time and duration for your event.

Click 'UPDATE EVENT'.
Creating a case
Attach a document to an event
Scroll to the bottom of the edit event screen.

Click the 'UPLOAD FILE' button.

Select your file and click the 'ADD FILE' button.

Click 'UPDATE EVENT'.
Creating a case
Update the category or popup reminder of a single event
For reminders: Click the Popup Reminder dropdown and select a new time.

For categories: Click the Search Categories box to add or remove categories.

Click 'UPDATE EVENT' after making changes.
Back to top ↑